Light Up Christmas Controls & Placement
Orient the camera, learn the decorate UI in-game, and place lights where night traffic can actually see them.
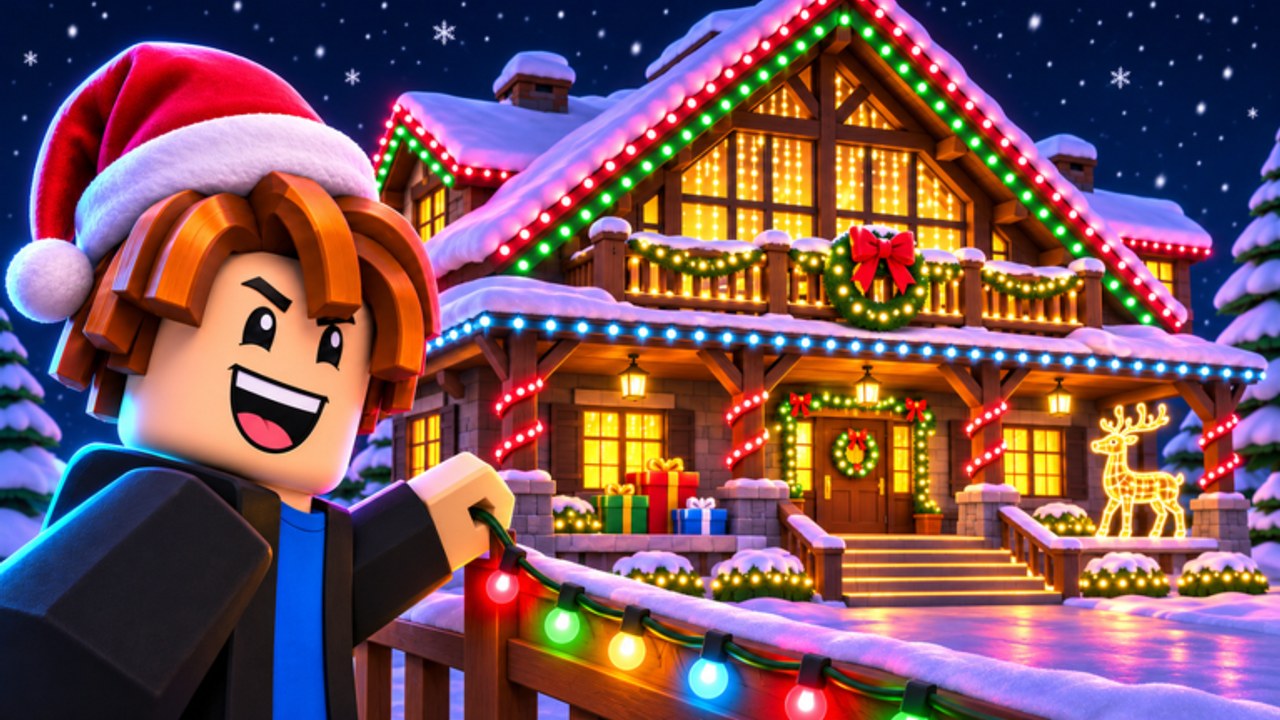
Decorating in Light Up Christmas! is a placement craft. Cash from nighttime cars depends on how bright and readable your house looks from the street, so controls literacy — camera, shop, place, rotate, confirm — matters as much as knowing which light to buy. This guide explains how to orient yourself using Roblox-typical patterns and in-game UI discovery. It does not invent exact keybinds or mobile gesture charts that The Chunkies! have not published as a fixed manual.
If you are brand new, skim Getting Started first, then return here when you are ready to place with intention. For what to buy, use Decorations, the Decoration Planner, and Earn Cash Fast.
Start with camera and street view
Before you open the shop, learn the angle cars “use”:
- Walk to the road or the clearest public viewpoint in front of your plot.
- Orbit the camera so the full facade — roof, porch, front yard — fits on screen.
- Note dark holes: unlit eaves, black windows, empty front third of the lawn.
- Keep that mental screenshot while you buy. Every placement should heal one of those holes.
On keyboard and mouse, Roblox camera orbit is usually right-mouse drag (or the equivalent camera thumbstick on controllers). On touch, one-finger drag typically pans the view. If something feels inverted, check Roblox settings for camera mode rather than assuming the experience broke.
Street view first, inventory second. Players who decorate from a tight backyard camera often build displays that look great in a selfie and dim from the road.
Discover the decorate / shop UI in-game
Light Up Christmas follows the familiar Roblox tycoon pattern: on-screen buttons or proximity prompts open shops, inventories, upgrade panels, and redeem UIs. Because button labels can move with patches, learn by exploration instead of memorizing a wiki key list:
- Look for Shop, Decor, Lights, House, Rebirth, Codes, or bag / inventory icons on the HUD.
- Walk near plot NPCs, pads, or marked stations if the map uses world shops.
- Open each panel once during your first session and note what it sells: lights vs inflatables vs house upgrades vs presents.
- After any update, re-open the same panels — launch-week UI shuffles are normal. Track changes on the Updates hub.
If a panel fails to open after a publish, rejoin the experience. Soft rejoins fix more “broken controls” tickets than rebinding keys.
Placing lights and inflatables — practical flow
A clean place loop looks like this:
- Buy the piece that fixes the largest street-facing dark zone.
- Select it from inventory or the immediate place tool the shop offers.
- Preview the ghost or held item against the facade from the road angle.
- Rotate so the pretty face aims at traffic, not at your backyard fence.
- Confirm placement, then step back to the street and judge again.
- Nudge older pieces if the new prop created occlusion or a weird gap.
Rotation controls in Roblox decorate games commonly use R (or an on-screen rotate button) on PC, bumper / face-button chords on gamepad, and a rotate icon on touch. If Light Up Christmas surfaces its own rotate affordance in the place UI, prefer that. When unsure, place, inspect from the road, delete or move, and retry — iteration is cheaper than guessing a fake hotkey chart.
Lights-specific tips
- Trace rooflines and eaves so the silhouette reads at night.
- Frame windows and the front door; dark glass makes a house feel off even with a bright lawn.
- Prefer continuous runs over scattered sparkles.
- Avoid burying strands behind tall opaque inflatables that face the street.
Inflatables-specific tips
- Put hero shapes in the front third of the lot.
- Leave a little negative space so silhouettes do not merge into one blob.
- Face printed or detailed sides toward the road.
- After a big place, re-check whether you blocked a path to shop pads or claim prompts.
Deep placement theory lives on the Decorations guide. Ranked shopping help sits on the Lights tier list and Inflatables tier list.
Movement, plot etiquette, and six-player lobbies
Servers cap at six players. You will see neighbors decorating while you work. Standard Roblox movement (WASD / thumbstick / on-screen stick) is enough. Extra etiquette that protects your session:
- Do not park yourself inside someone else’s place preview if the map shares walkways.
- Keep shop approaches clear on your own lot so you can repurchase quickly between nights.
- Hop servers if a lobby is too chaotic to aim placements carefully.
Leaderboard climbers treat controls as speed: fewer misplaces means more nights spent earning. See Players for community context.
Mobile vs desktop expectations
Touch players should expect larger on-screen buttons and slightly slower rotate-and-nudge cycles. Desktop players usually place finer outlines faster. Neither platform invents a different economy — brightness still wins. If touch placement feels slippery, zoom out, place large anchors first, then fill lights on a second pass.
Troubleshooting “I cannot place” moments
- Not enough cash — earn a night or claim group / Discord freebies via Codes.
- Wrong plot focus — click or stand on your own house area before placing.
- UI covered by another menu — close codes, settings, or chat overlays.
- Post-update desync — rejoin; then re-open shop.
- House capacity feel — you may need house upgrades before more props fit comfortably; read House upgrades and eventually Rebirth.
We will not invent exact collision rules or secret placeable caps. When the game blocks a spot, trust the in-game feedback and try a street-legal alternative position.
Session drill (ten minutes)
- Street-view audit (one minute).
- Open shop; buy one high-impact light or inflatable (two minutes).
- Place, rotate toward the road, confirm (three minutes).
- Step to the street; fix one occlusion (two minutes).
- Bank the next night payout and repeat (remaining time).
Run that drill after watching a real play session so camera pacing feels familiar. The embedded gameplay video on this page shows a public Light Up Christmas session useful for placement tempo — not as a source of invented hotkeys.
Related guides
Master the camera, discover the HUD honestly, and place for headlights. Controls are only “solved” when the road can read your Christmas display at a glance.
Frequently Asked Questions
Quick answers about codes, lights, cash, and rebirth.
What are the exact keybinds for Light Up Christmas?
This wiki does not invent unverified keybind tables. Use Roblox-typical camera and movement controls, then learn rotate and confirm actions from the in-game place UI.
How should I aim decorations?
Always preview from the street view. Face detailed sides toward traffic and fix dark roof, window, and front-yard gaps first.
Why can I not place an item?
Common causes are empty cash, menus covering the HUD, standing on the wrong plot focus, or needing a rejoin after an update. House capacity limits can also push you toward upgrades.
Is placement different on mobile?
Touch uses on-screen controls and is often a bit slower for fine outlines. Place large anchors first, then fill lights. The earning rules stay the same.
Where do I learn what to buy after I learn controls?
Use the Decorations guide, Earn Cash Fast, the Decoration Planner, and the lights or inflatables tier lists for shopping priority.